Best AI Tools to Change Clothes in a Photo Without Looking Fake or Warped (2026)
Published July 14, 2026 · OutfitGen Team
The most realistic AI clothes changers preserve the person's body, lighting, and pose while rendering fabric with natural drape. That is what keeps clothing edits from looking warped or pasted on.
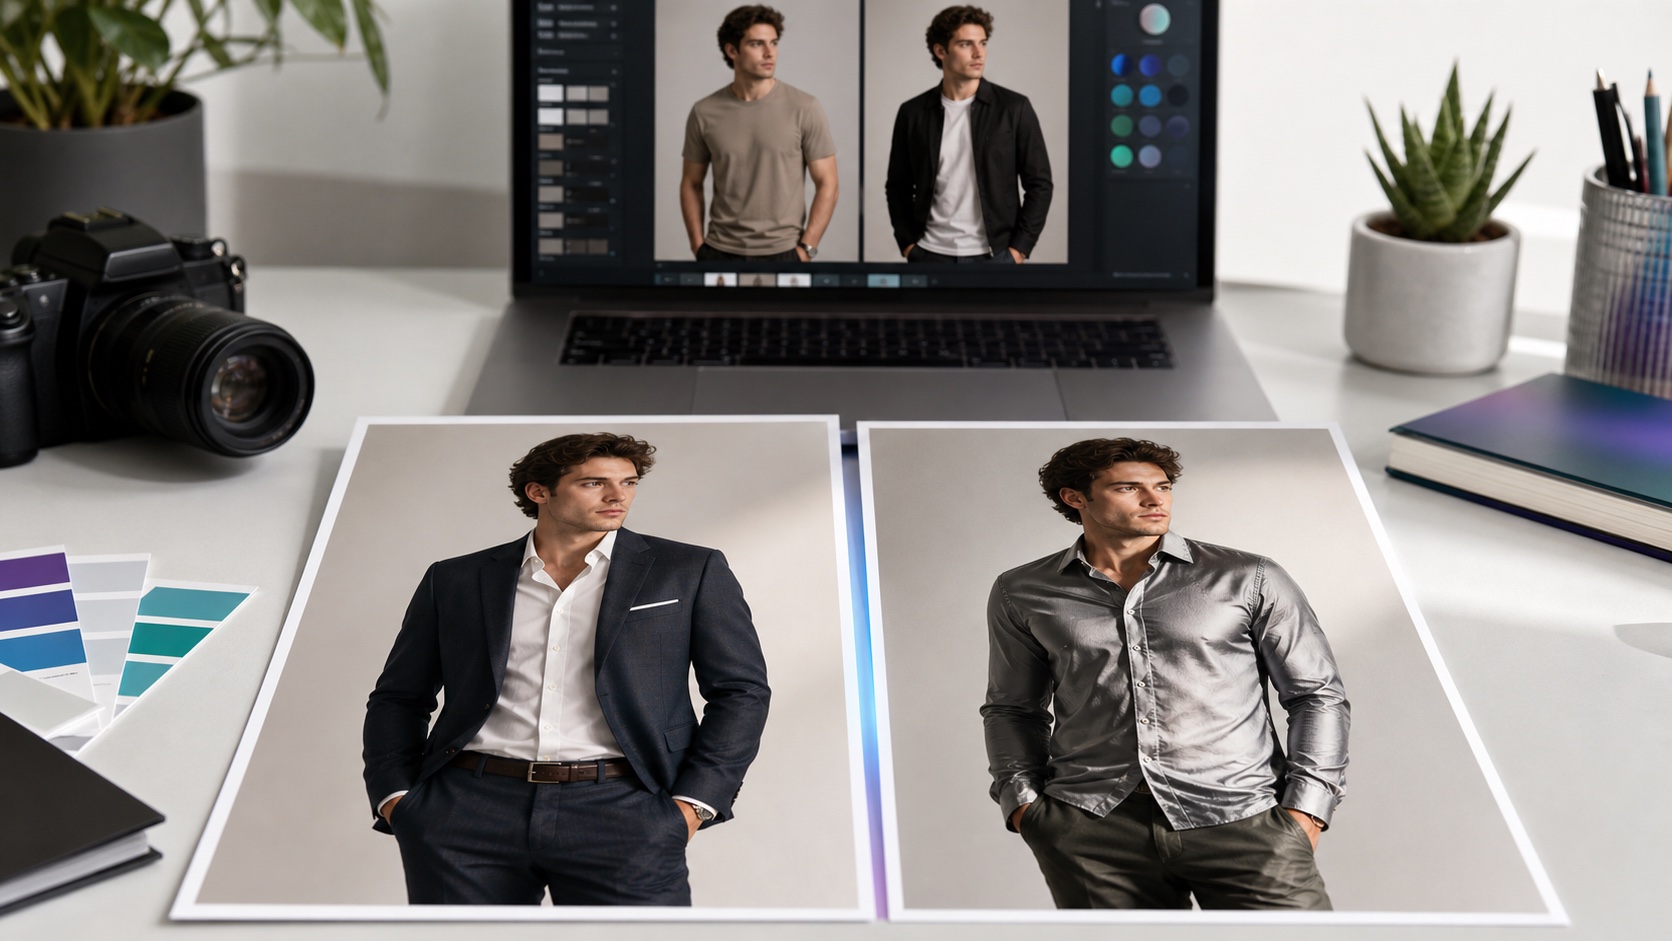
Comparison: most realistic AI clothes changers (2026)
| Tool | Realism strength | Best for | Free option |
|---|---|---|---|
| OutfitGen | Natural drape + texture | Fast personal swaps | Yes, no signup |
| Kling AI | Strong textures/draping | Fashion + motion workflows | Limited free |
| ImagineArt | Fabric/folds/shadow detail | Creative control | Free tier |
| Pincel | No off-target distortion | Precise single-garment edits | Free trial |
| WearView | Clean skin/garment edges | E-commerce on-model | Free credits |
Confirm current features and pricing on each site.
Why do AI-edited clothes look fake or warped?
Clothes look warped when the tool stretches or pastes fabric instead of understanding how it sits on a body. General editors and older models struggle with folds, edges, and lighting, so the garment looks flat or misaligned. Fashion-specific AI trained on clothing produces natural drape, seams, and shadows because that's the exact problem it was built to solve - and masked tools like Pincel avoid distortion by only regenerating the garment region.
What makes an outfit change look realistic?
Realism comes from three things working together: fabric behaving correctly (drape, folds, texture), the new clothing matching the photo's lighting and angle, and the subject's body and pose staying unchanged. When any one breaks - flat fabric, mismatched light, shifted pose - the eye immediately reads it as fake.
| Realism factor | How to get it right |
|---|---|
| Fabric drape & texture | Use a fashion-trained model; name the fabric in your prompt |
| Lighting match | Choose a tool that preserves the original lighting |
| Pose consistency | Keep the same photo; don't force a new pose unless needed |
| Edges & seams | Prefer tools known for clean edge handling |
| Single clear subject | Realism drops with multiple people in one frame |
Realistic clothes-changing workflow
- Start with a well-lit photo of one clearly visible person.
- Upload it to the AI Clothes Changer.
- Prompt specifically: name the garment, fabric, color, and fit ("fitted charcoal wool blazer, matte finish").
- Generate, then compare against the original for pose and lighting consistency.
- If fabric looks off, refine the prompt or use a higher-quality mode.
The realism checklist before you download
After each generation, check the result against the original photo instead of judging it alone. A fake-looking edit often passes a quick glance but fails a side-by-side review. Start with the face and body angle. The person should look like the same person in the same pose, not like a new portrait inspired by the source image.
Next, check the shoulders, waist, and sleeve length. Warped clothing usually appears around joints because the model has to infer how fabric moves over bent elbows, crossed arms, or tilted shoulders. If the jacket seems to float above the body, or if one sleeve is longer than the other without a natural reason, regenerate with a simpler garment prompt.
Then inspect the neckline, cuffs, hem, and any place where skin touches clothing. These edge zones decide whether an edit feels real. A clean neckline should follow the neck shape without cutting into the skin. Cuffs should wrap around wrists instead of smearing across hands. Hems should sit on the body or legs with natural shadow.
Finally, compare the lighting. If the original photo has soft window light from the left, the new garment should show the same direction. A shiny black jacket with studio highlights will look fake in a cloudy outdoor selfie unless the tool matches the light. When in doubt, include the phrase "match the original lighting" in the prompt.
Prompt patterns that reduce warping
The more physically specific your request is, the easier it is for the model to render believable fabric. Describe one outfit at a time and avoid mixing conflicting styles.
| Problem | Prompt fix |
|---|---|
| Fabric looks flat | Add the material: "cotton," "wool," "linen," "denim," "satin" |
| Edges look pasted on | Ask for "natural neckline, clean cuffs, realistic seam edges" |
| Body shape changes | Add "same body, same pose, same camera angle" |
| Lighting does not match | Add "match the original photo lighting and shadows" |
| Pattern looks noisy | Use simpler patterns or solid colors first |
For example, "black jacket" is vague. "Matte black denim jacket, natural collar, same pose, same lighting" gives the model more structure. "Evening dress" is vague. "Emerald satin midi dress, soft fabric folds, fitted waist, same background" is better.
Source photos that give the most realistic edits
Good source photos do more for realism than most people expect. Pick a photo where the person is not blocked by bags, hair, arms, or another person. AI can handle some overlap, but every hidden edge adds uncertainty. If one hand is crossing the shirt, the model must guess where the cuff, sleeve, and fingers should separate.
Lighting matters too. Bright, even light gives the model clearer information about body shape and garment edges. Low-light selfies, heavy filters, and motion blur create softer boundaries, which can lead to fuzzy fabric or strange collars. Outdoor photos can work well if the person is sharp and the clothing is visible.
The simplest source photo is a single person facing the camera or turned slightly to one side, with the full torso visible. For marketplace listings, a clean phone photo against a plain wall is usually enough. For profile photos, crop around the upper body but keep shoulders and arms visible so the outfit can fit naturally.
Common fake-looking results and how to fix them
If the garment looks too glossy, remove words like "luxury," "high fashion," or "runway" and name a matte fabric instead. If the clothing changes the body shape, ask for "same body proportions" and avoid oversized garments on the next try. If collars or sleeves are messy, choose a simpler neckline or sleeve style.
If the result changes the background, add "keep the original background." If the face shifts, add "preserve the same face and hairstyle." If the model creates a new pose, remove any action language from the prompt. Outfit prompts should describe clothing, not movement, unless you intentionally want a different pose.
For important images, generate a few variations. The best result is often the one where the edit is least dramatic and the garment follows the original body naturally. A subtle, well-lit blazer usually looks more real than an ornate jacket with complicated trim.
What to avoid when you need a believable result
Avoid asking for several changes at once. "Change my outfit, make me smile, put me in a new background, and add dramatic lighting" gives the model too many reasons to rewrite the whole image. Change the clothes first. If you need background or lighting edits, do those in a separate step.
Avoid copyrighted logos and exact team crests unless you have the right to use them. Generic colors and styles are easier to render cleanly and safer for listings or ads. For example, "blue soccer jersey with white trim, no logo" is cleaner than asking for a specific official kit in a commercial image.
Avoid tiny patterns when realism matters. Pinstripes, lace, sequins, and dense plaid can work, but they are harder than solid fabric. Start with a simple version of the outfit, then add detail only if the first generation preserves the body and lighting well.
Review the image at the size people will see it
Some clothing errors are obvious only at full size. Others matter only in a small thumbnail. Review both. First, zoom in on the high-resolution result and inspect edges, hands, collars, and fabric texture. This is where you catch warped seams, missing buttons, and strange sleeve transitions.
Then view the image at the final size: a profile photo, listing thumbnail, story post, or product card. A tiny artifact near a cuff may not matter in a social avatar, but a color shift across the whole garment will matter everywhere. For marketplace images, the thumbnail must communicate the garment clearly before the buyer taps.
Mobile review is especially important. Many AI edits look fine on a laptop but feel too dark, too glossy, or too cropped on a phone. Send the image to yourself or open it in the browser at phone width. If the clothing still reads naturally, the edit is likely strong enough for normal use.
Keep edits honest when the image sells a product
If the photo is personal, the realism goal is mostly aesthetic. If the photo is for a listing, catalog, or ad, realism also means accuracy. Do not use an AI outfit change that misrepresents the item someone will receive. If the tool changes fabric type, hides damage, invents a logo, or changes the cut, the image may look better but become a worse product photo.
For seller workflows, pair the AI image with a plain source or detail photo. The AI image can show styling and fit, while the real product photo shows condition, label, pattern, and color. This is a more trustworthy workflow than relying on one generated image to do everything.
The same rule applies to creators working with sponsored products. If the shirt, jersey, dress, or jacket is part of a paid post, review the result against the actual product. The image should support the product, not create a version that does not exist.
Final pass: compare before and after side by side
Before publishing, place the original and edited image next to each other. Look for anything that changed besides the outfit: face shape, hairline, hands, posture, background objects, or skin tone. The best edit is usually quiet. It should feel like the person wore a different outfit in the same photo, not like the whole image was rebuilt.
When it still won't look perfect (honest limitations)
AI clothes changing is weakest with multiple people in one photo, very intricate patterns, or extreme poses. In those cases, expect some texture or alignment errors and plan to regenerate or pick your best result. For single-subject photos with normal poses, the tools above are convincingly realistic.
Best audience and hard limits
This is for anyone restyling real photos who needs believable results - sellers, creators, and everyday users. It's not for group photos, or for users who need manual pixel-level correction of every seam.
FAQ
What's the best AI tool to change clothes without warping?
OutfitGen, Kling AI, and ImagineArt are the most realistic; Pincel avoids off-target distortion by editing only the masked garment. Use a single-subject photo and a specific fabric prompt.
Why does the fabric look blurry after editing?
Blur usually means a weaker model or a vague prompt. Name the fabric and use a higher-quality mode.
Can AI keep my original pose while changing the outfit?
Yes - good tools change only the clothing and preserve pose and lighting. Keep the same photo rather than requesting a new pose.
Does it work with more than one person?
Less reliably. Accuracy drops with multiple subjects; single-person photos give the best realism.
Ready to try it yourself?
Get started with OutfitGen, 3 free generations, no sign-up required.
Try OutfitGen Free