AI Background Remover vs AI Background Changer: What's the Difference?
Published March 1, 2026 · OutfitGen Team
Last updated May 17, 2026
If you've searched for "remove background from photo" or "change photo background," you've probably noticed that the tools and results can be very different. Background removal and background changing are related features, but they solve different problems.
Let's break down the difference, when to use each one, and how to get the best results from both.
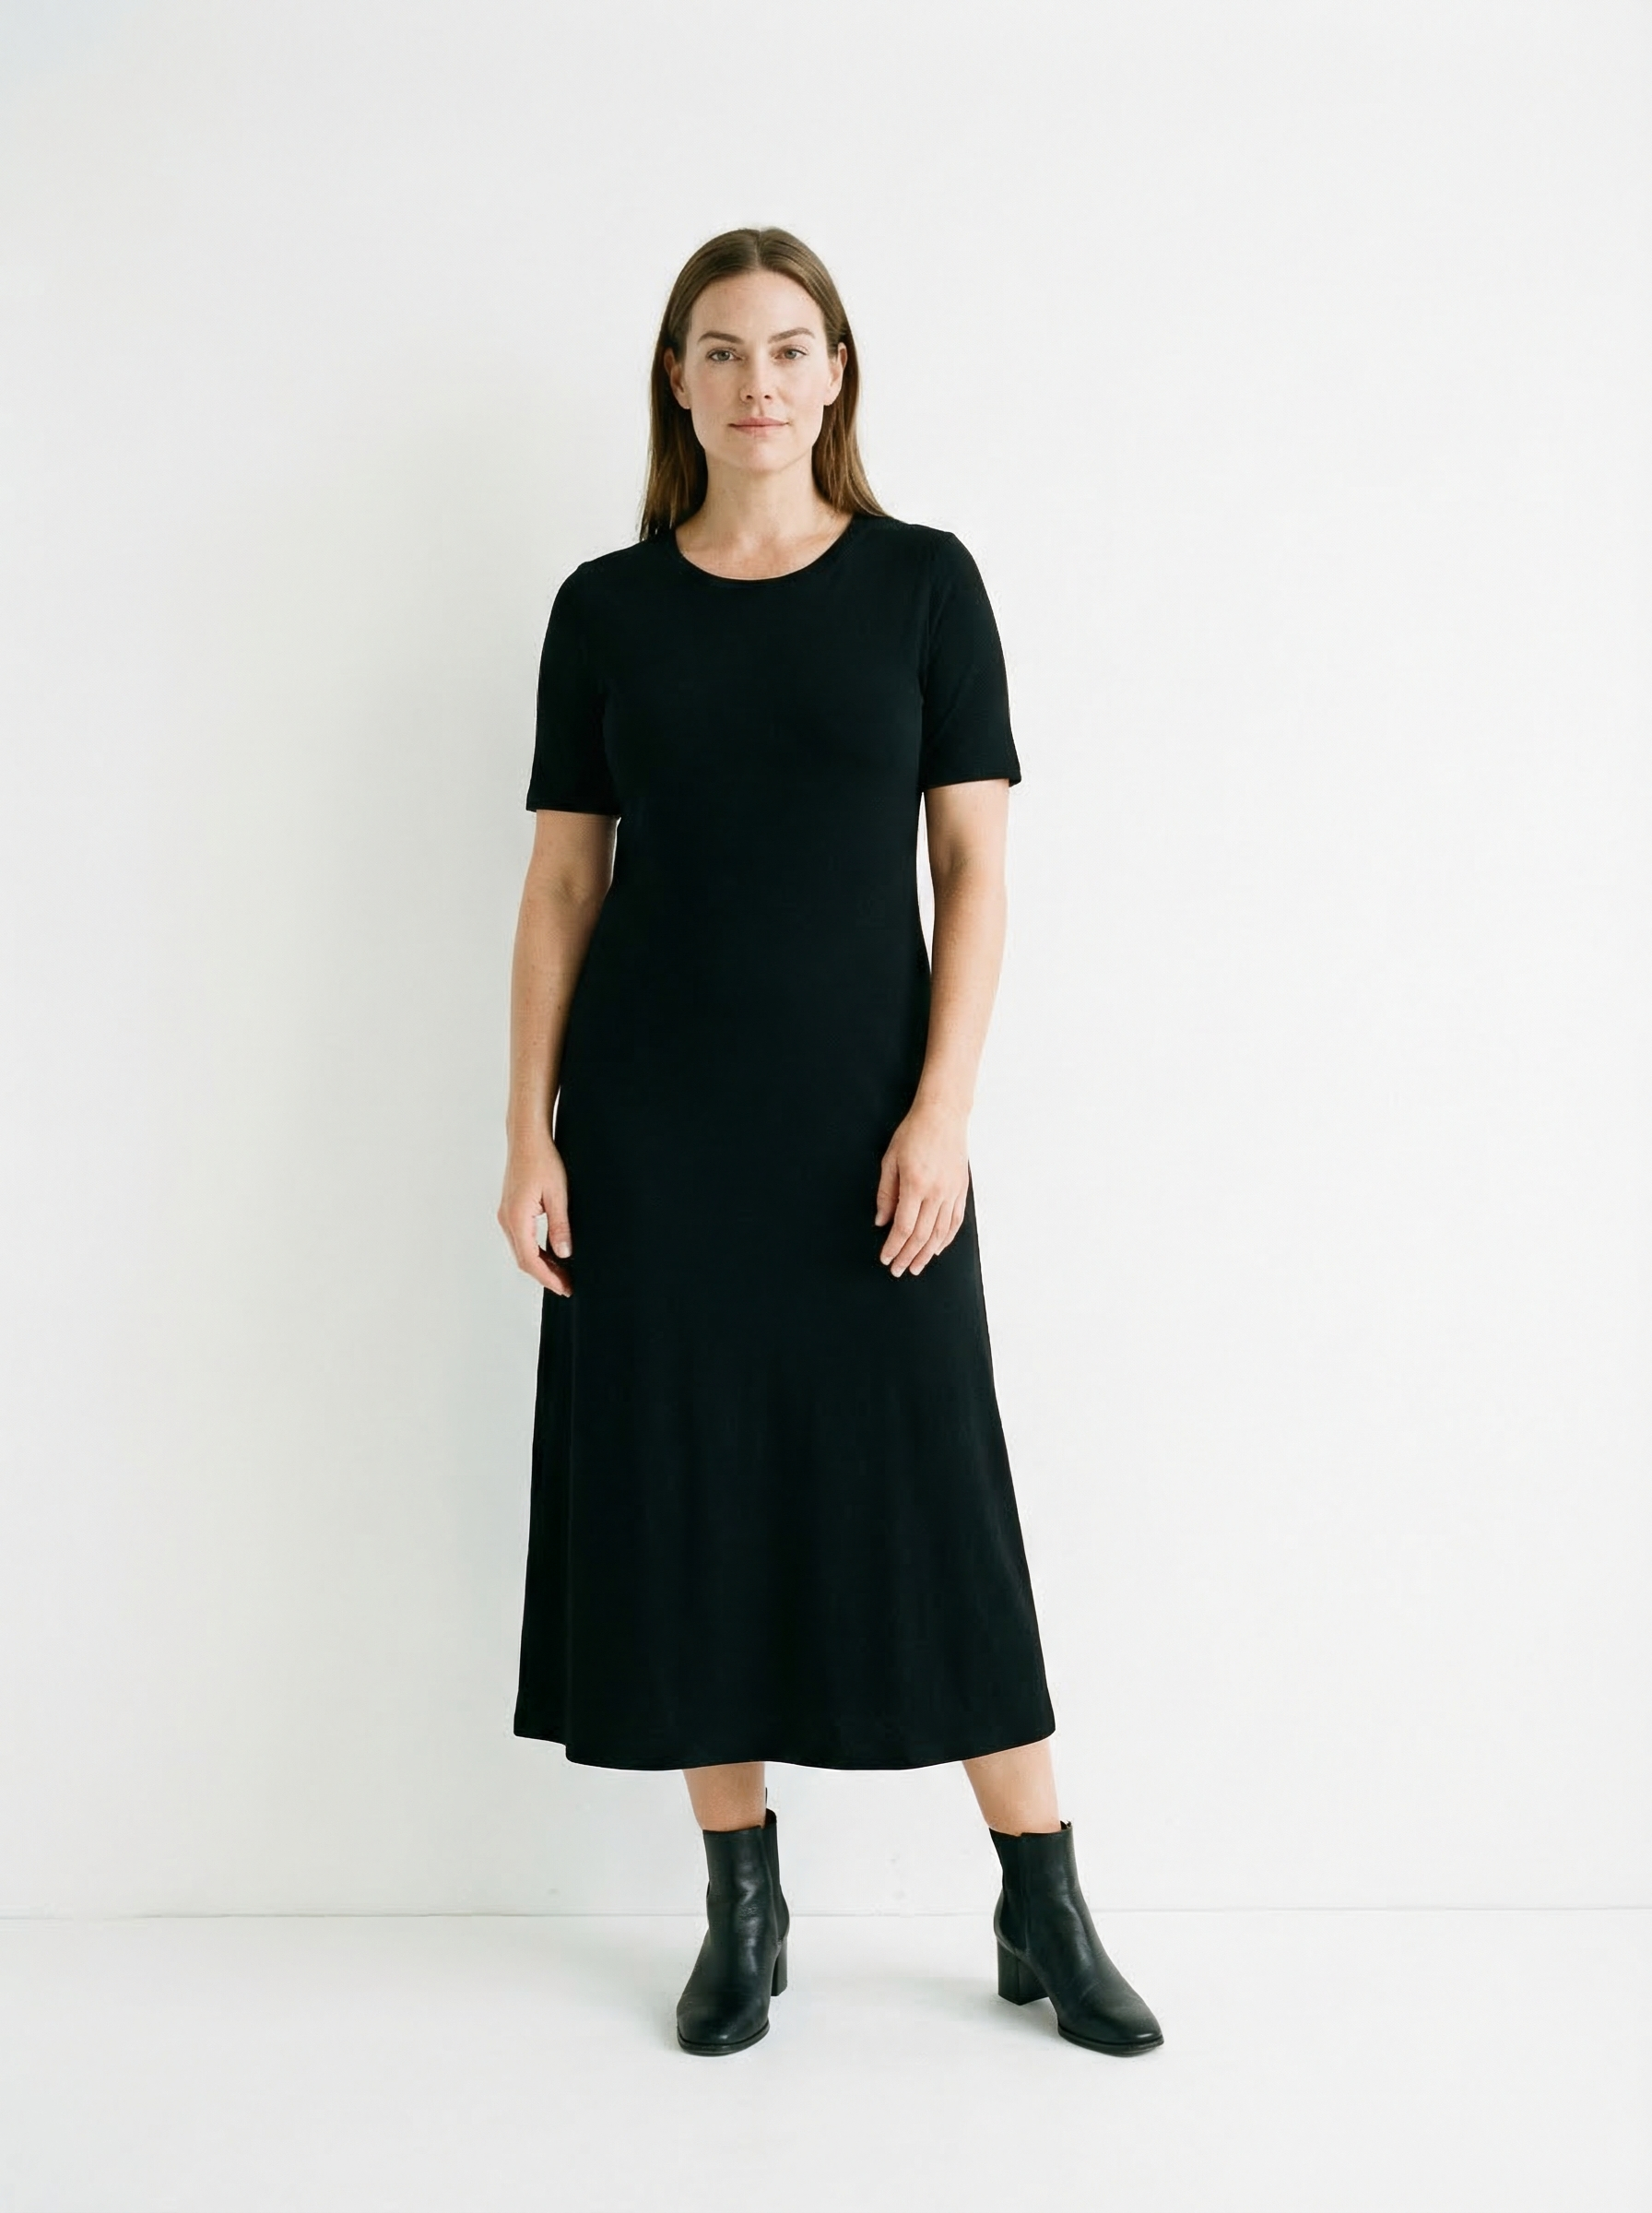
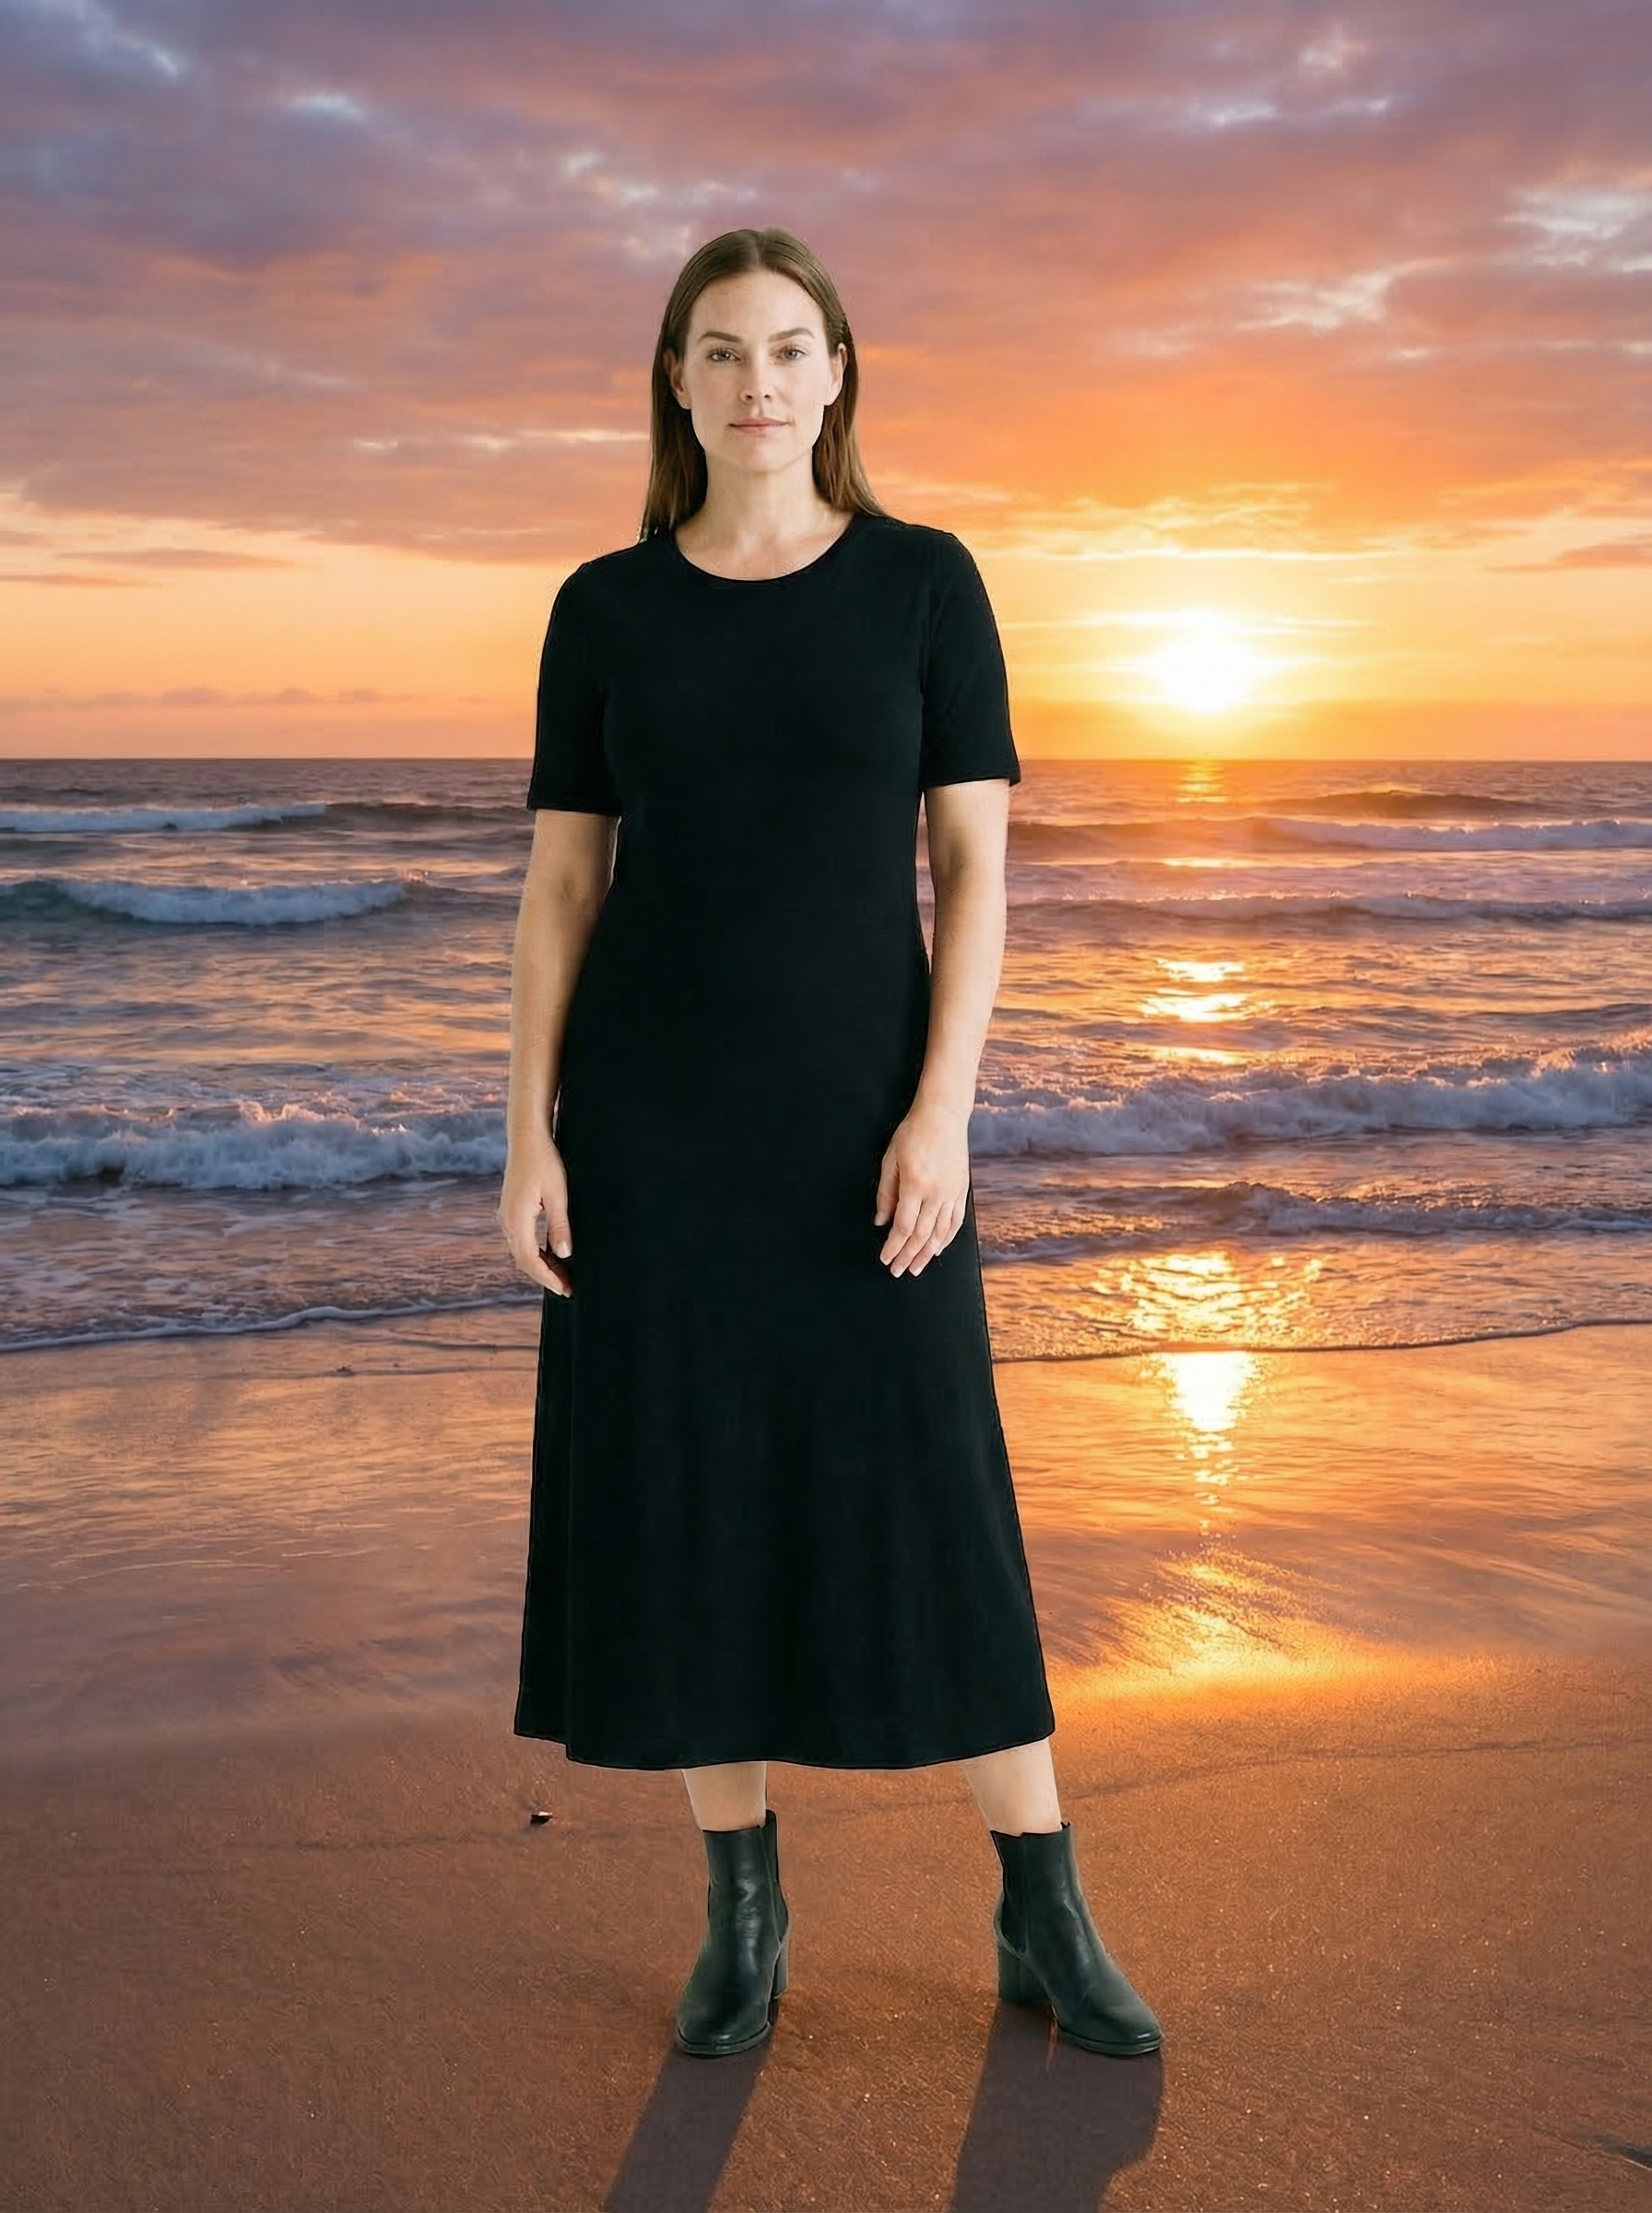
Visual Proof
Same source portrait, changed with OutfitGen from a plain background into a sunset beach scene:
Background Remover vs Background Changer
| Feature | Background remover | Background changer |
|---|---|---|
| Output | Transparent or white background | New generated or selected scene |
| Best for | Product cutouts, design assets, stickers | Social photos, headshots, product lifestyle shots |
| File type | Usually PNG | Usually JPEG or PNG |
| Main challenge | Clean edges around hair and objects | Natural lighting, shadows, and perspective |
| Finished image? | Usually no | Yes |
Background Removal: What It Does
A background remover strips away everything behind your subject, leaving you with a transparent background (or sometimes a solid white one). The output is typically a PNG file with an alpha channel, meaning the background area is completely see-through.
The result: Just your subject, no background at all.
Common uses:
- Product photos for e-commerce (subject on white/transparent background)
- Design assets that will be placed onto other designs
- Profile pictures that need to work on any background
- Logo and branding work
- Creating stickers or overlays
Background removal is a precision task. The AI needs to figure out exactly where your subject ends and the background begins, pixel by pixel. It handles hair, transparent objects, and fuzzy edges surprisingly well these days.
Background Changing: What It Does
A background changer replaces the existing background with a completely new one. Instead of removing the background to transparency, it generates or places a new scene behind your subject.
The result: Your subject in front of a new background.
Common uses:
- Making a casual selfie look like it was taken at the beach
- Creating professional headshots with a clean office or studio background
- Social media content with interesting or branded backgrounds
- Real estate photos with enhanced surroundings
- Product photos in lifestyle settings
Background changing involves two steps under the hood: removing the original background and then compositing the subject onto a new one. AI handles both steps simultaneously, blending the subject naturally into the new scene with matching lighting and perspective.
Key Differences
Output Format
- Remover: Transparent background (PNG with alpha). The subject floats on nothing.
- Changer: New background filled in. The subject is placed in a new scene.
Use Case
- Remover: When you need the subject isolated for further design work.
- Changer: When you need a finished, ready-to-use image with a better background.
Complexity
- Remover: Simpler task. The AI just needs to identify and separate the subject.
- Changer: More complex. The AI needs to separate the subject AND generate/composite a new background that looks natural.
Lighting and Shadows
- Remover: Removes shadows along with the background. The subject may look "flat" without its natural shadows.
- Changer: Better AI changers will match the lighting of the new background and even add appropriate shadows, making the result look more realistic.
When to Use a Background Remover
Use background removal when:
- You're creating design assets (logos, stickers, overlays)
- You need a product on a pure white or transparent background for an e-commerce listing
- You're going to manually place the subject into a design in Photoshop, Figma, or Canva
- You want maximum control over the final composition
- Your design team needs clean cutouts to work with
When to Use a Background Changer
Use a background changer when:
- You want a finished image ready to post or use immediately
- You need a specific scene or setting behind your subject
- You're creating social media content and need variety
- You want professional-looking headshots without a studio
- You're doing real estate or product photography that needs context
Most people actually want a background changer, not a remover. The question "how do I remove my background?" usually means "how do I get a better background?" rather than "how do I get a transparent PNG?"
How AI Background Tools Work
Both tools use similar underlying technology:
- Segmentation. The AI identifies the subject (person, product, animal, etc.) and creates a precise mask separating it from the background. Modern AI models handle this incredibly well, even with challenging edges like hair, fur, or translucent objects.
- Matting. For areas where the subject and background blend (hair wisps, glass, shadows), the AI estimates partial transparency. This is what makes modern background tools so much better than the "magic wand" approach from old Photoshop days.
- For changers: composition. The AI generates or places the new background, adjusting colors and lighting to make the subject look natural in the new setting. Advanced tools also add ground shadows and reflections.
The quality gap between free and paid tools has shrunk dramatically. AI models that were state-of-the-art two years ago are now the baseline that free tools use.
Getting the Best Results from Either Tool
Start with a good photo. Clear contrast between your subject and the background makes the AI's job easier. A person in a white shirt against a white wall is harder to process than someone in a dark jacket against a light wall.
Higher resolution wins. More pixels means more detail for the AI to work with, especially around tricky edges like hair.
Even lighting helps. Harsh directional lighting creates strong shadows that can confuse the subject-background boundary. Soft, even lighting produces cleaner separations.
Test and iterate. AI results aren't always perfect on the first try. Small adjustments to the input photo (cropping, brightness) can improve results significantly.
Our Recommendation
For most people reading this, you want the AI Background Changer. It gives you a finished image with a new background that's ready to use immediately. You don't need to mess with transparent PNGs or manually composite images.
If you need isolated subjects for design work, look for a dedicated background remover tool that outputs transparent PNGs.
Either way, AI has made what used to be a tedious, skill-intensive task into something anyone can do in seconds. Upload a photo, pick your new background, done.
Try OutfitGen's AI Background Changer and see the difference for yourself.
FAQ
Is background removal the same as background changing?
No. Background removal isolates the subject and leaves the background empty or transparent. Background changing replaces the old background with a new finished scene.
Which one should I use for product photos?
Use background removal if a marketplace requires a pure white or transparent background. Use background changing if you want lifestyle scenes, studio backdrops, or branded product imagery.
Why do AI background changers sometimes look fake?
Usually the lighting, shadow direction, or camera perspective does not match the subject. Good background changers blend the subject into the new scene instead of simply placing a cutout on top.
Can OutfitGen remove backgrounds?
OutfitGen is focused on background changing rather than transparent cutout export. It is best when you want a finished image with a better background.
Ready to try it yourself?
Get started with OutfitGen, 3 free generations, no sign-up required.
Try OutfitGen Free